Creating custom curved decking
How to create custom curve decking
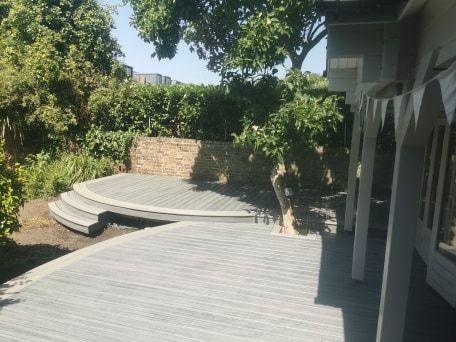
This is my first customer curved deck. London first custom curved deck. I’ve been lucky enough to purchase a set of Heatcon blankets this summer, and tried my hand at creating a curved composite deck.
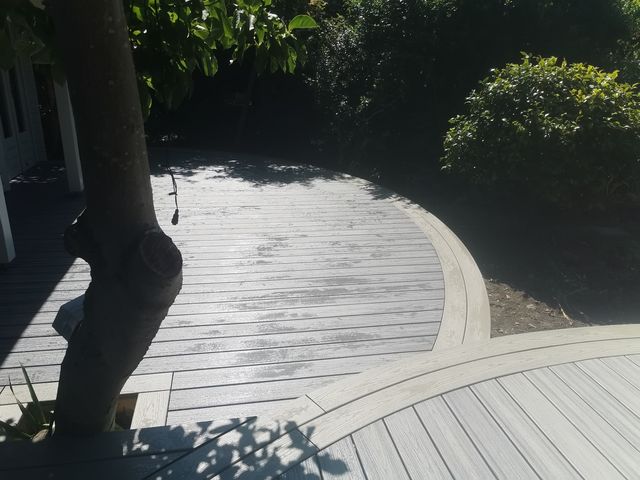
The chosen deck boards on this occasion, is Trex Island mist and gravel path. I’ve also been successful in curving timber techs solid boards and hyperion by Envirobuild.
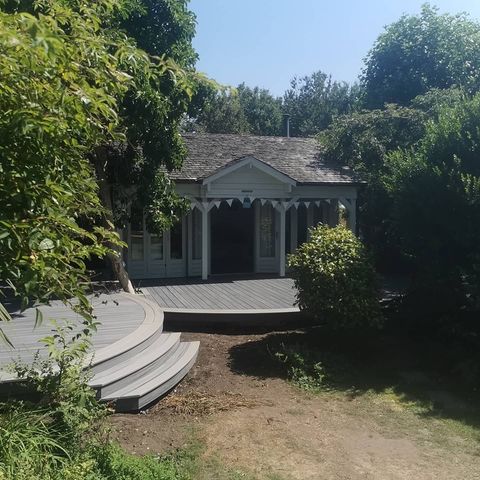
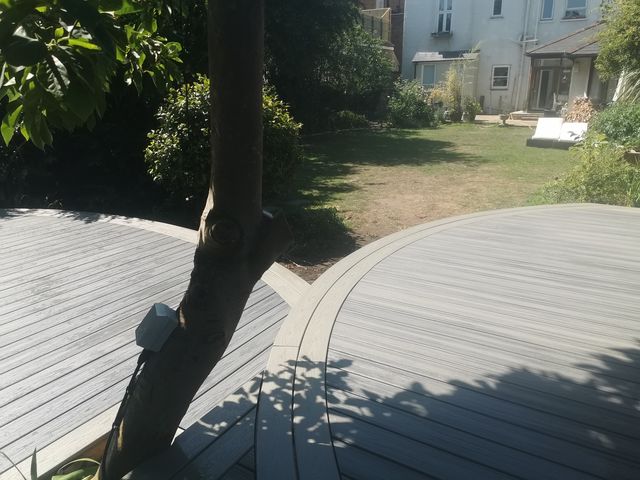
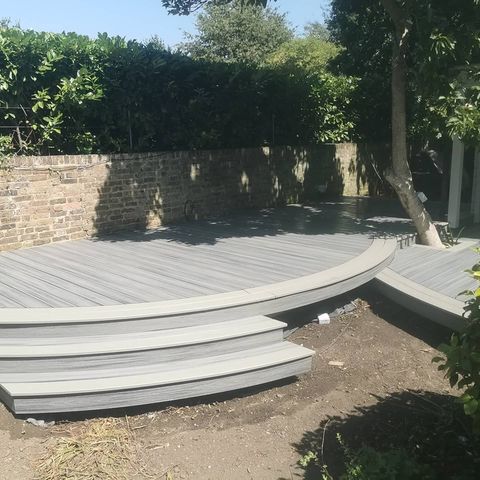
The split level deck has two main curves, the lower deck has a radius of 4.5m and the top deck a slightly tighter curve of 3.6m radius. Then the steps.
It took a few attempts to figure out a suitable temperature to cook my boards at, to ensure the board does not blister or defect in anyway when bending.
Luckily plenty of years following Dr decks and Shane Chapman, I’ve picked up some useful tips. No one wants to tell you the correct temperatures they’ve spent years figuring out. Luckily it didn’t take to long to get a greater understanding of how to not over cook your boards.
Whilst practising I’ve managed to achieve a tighter curve of 2.1m radius with Trex and timber tech. I believe I can get tighter especially with timber tech. Timber tech naturally bends easier and cleaner.
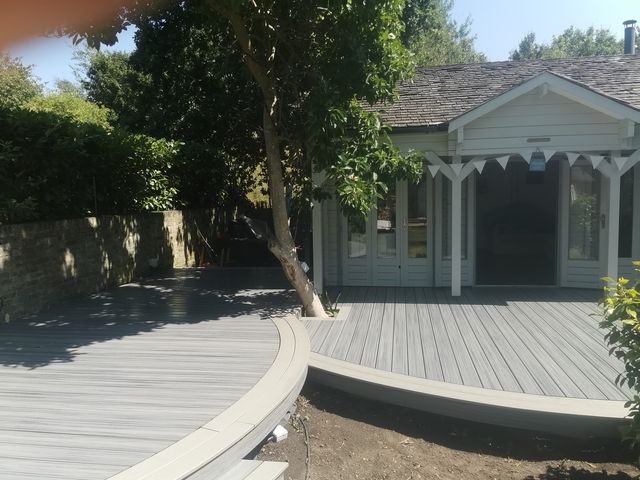
The most important part of this build was to create clean curves, no flat spots. I designed a telescopic radius arm to help me make my curves. This made it easier to ensure my curved boards matched my marked out and cut deck frame.
Curved composite decking substructure
The frame I added additional timbers no further than 300mm apart on my curved blocking, and 400mm on the main frame. Then I totally taped the frame with joist tape, on this occasion I used the original g tape, supplied by Walther strong.
I believe when constructing a composite deck, to build a frame that will last. We fully tape all our decks, and use composite posts or ground screws to build on.
The decks been fixed down with the Trex hidden clip system, and pro plugs colour matched on the curved picture frame. The front curved boards been attached with colour matched screws.
For my first curved project, I can honestly say I’m more than happy with the outcome. And I’ve definitely learnt so much to help me on future builds.
You can see more of our work on our website A Brighter Shade of Green